Installing Locally on OS X
Is this the best install method for you?
In most cases, we recommend doing an internet-based installation on Heroku instead. If you decide to do a local installation, be sure to read our page on local installations to help you understand what’s going on, particularly this section: Should I use a local installation?
If you just want to quickly set up a copy of Tabbycat to run locally on OS X, we recommend installing using Docker, which is much easier than the process below.
Requisite technical knowledge
You need to be familiar with command-line interfaces to get through this comfortably. While a background in the specific tools (Python, etc.) we use will make things easier for you, it’s not necessary: we’ll talk you through the rest. You just need to be prepared to bear with us. It’ll take a while the first time, but it gets easier after that.
Every line in the instructions that begins with $ is a command that you need to run in a Terminal, but without the $: that sign is a convention used in instructions to make it clear that it is a command you need to run.
Advanced users
Tabbycat is a Django project, so can be installed in any manner that Django projects can normally be installed. For example, if you prefer some SQL system other than PostgreSQL, you can use it so long as it’s Django-compatible. Just be aware that we haven’t tried it.
1. Install dependencies
First, you need to install all of the software on which Tabbycat depends, if you don’t already have it installed.
1(a). Python
Tabbycat requires Python 3.4 or later. OS X only comes with Python 2.7, so you’ll need to install this. You can download the latest version from the Python website.
The executable will probably be called python3, rather than python. Check:
$ python3 --version
Python 3.4.4
Warning
Tabbycat does not support Python 2. You must use Python 3.4 or later.
Advanced users
These instructions will use the venv module. If you prefer, you can use Virtualenv instead.
1(b). PostgreSQL
Download postgres.app, move it to your Applications folder, and open it. This should place an icon in your menu bar, showing that the postgres database is running. Whenever you are running Tabbycat you’ll need to have this app running.
1(c). Node.js/NPM
Download and run the node.js Mac OS X Installer (.pkg)
2. Get the source code
- Go to the page for our latest release.
- Download the zip or tar.gz file.
- Extract all files in it to a folder of your choice.
Advanced users
If you’ve used Git before, you might prefer to clone our GitHub repository instead. Don’t forget to check out the v1.2.3 tag or the master branch.
Even better, you might like to fork the repository first, to give yourself a little more freedom to make code changes on the fly (and potentially contribute them to the project).
3. Set up a new database
Hint
You can skip step 1 if this is not your first installation. Every Tabbycat installation requires its own database, but they can use the same login role if you like.
- Create a new user account with a password, replacing
myusernamewith whatever name you prefer. If you don’t know what username to pick, usetabbycat.
$ createuser myusername --pwpromptTip
If you’ll be running multiple instances of Tabbycat, developing, or diving into the database yourself, you might find it convenient to set up client authentication so that you don’t need to do all manual operations from
sudo -u postgres. See the PostgreSQL documentation on client authentication for more information. For example, you could add alocal all myusername md5line to the pg_hba.conf file, or you could define a mapping in pg_ident.conf and append themap=option to thelocal all all peerline in pg_hba.conf. If you want your new PostgreSQL account to be able to create databases, add--createdbto the above command.
Create a new database, replacing
mydatabasenamewith whatever name you prefer, probably the name of the tournament you’re running:$ createdb mydatabasename --owner myusername
In terminal type in:
$ PATH="/Applications/Postgres.app/Contents/Versions/9.6/bin:$PATH"
4. Install Tabbycat
Almost there!
Navigate to your Tabbycat directory:
$ cd path/to/my/tabbycat/directory
Copy local_settings.example to local_settings.py. Find this part in your new local_settings.py, and fill in the blanks as indicated:
DATABASES = {
    'default': {
        'ENGINE'  : 'django.db.backends.postgresql_psycopg2',
        'NAME'    : '',  # put your PostgreSQL database's name in here
        'USER'    : '',  # put your PostgreSQL login role's user name in here
        'PASSWORD': '',  # put your PostgreSQL login role's password in here
        'HOST':     'localhost',
        'PORT':     '5432',
    }
}
Start a new virtual environment. We suggest the name
venv, though it can be any name you like:$ python3 -m venv venv
Run the
activatescript. This puts you “into” the virtual environment:$ source venv/bin/activate
Install Tabbycat’s requirements into your virtual environment:
$ pip install --upgrade pip
$ pip install -r requirements_common.txt
$ npm install
Navigate to the tabbycat sub folder, initialize the database, compile the assets, and create a user account for yourself:
$ cd tabbycat
$ dj migrate
$ dj collectstatic
$ dj createsuperuser
Start Tabbycat!
$ waitress-serve wsgi:applicationIt should show something like this:
serving on http://0.0.0.0:8080
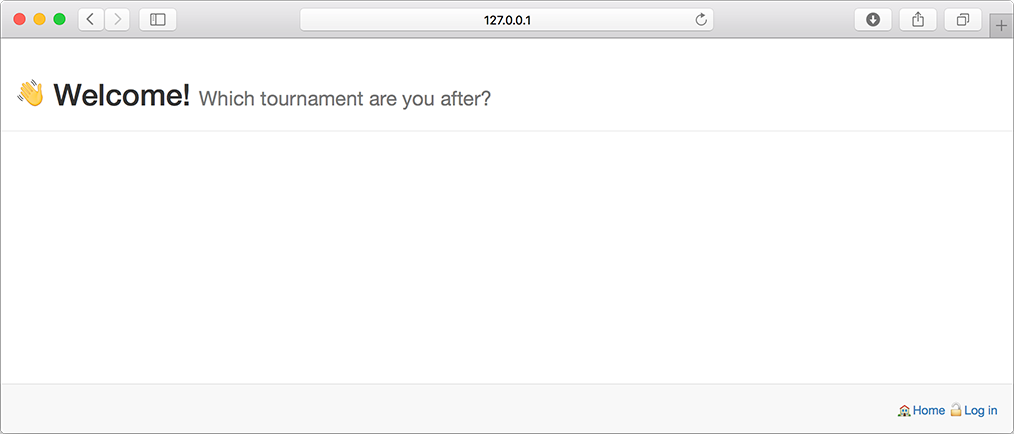
- Open your browser and go to the URL printed above. (In the above example, it’s http://0.0.0.0:8080/.) It should look something like the screenshot below. If it does, great! You’ve successfully installed Tabbycat.
Naturally, your database is currently empty, so proceed to importing initial data.
Starting up an existing Tabbycat instance
To start your Tabbycat instance up again next time you use your computer:
$ cd path/to/my/tabbycat/directory
$ source venv/bin/activate
$ cd tabbycat
$ waitress-serve wsgi:application