Installing Locally on Linux
Is this the best installation method for you?
In most cases, we recommend doing an internet-based installation on Heroku instead. If you decide to do a local installation, be sure to read our page on local installations to help you understand what’s going on, particularly this section: Should I use a local installation?
If you just want to quickly set up a copy of Tabbycat to run locally on Linux, consider installing using Docker, which is a shorter process than the one below.
The instructions apply to both Linux, and Linux on Windows.
Requisite technical background
You need to be familiar with command-line interfaces to get through this comfortably. While a background in the specific tools Tabbycat uses (Python, PostgreSQL, etc.) will make things easier, it’s not necessary: we’ll talk you through the rest.
Advanced users
If you wish to use an SQL engine other that PostgreSQL, most of Tabbycat should work, but a few features rely on SQL functions that aren’t supported by all engines. To configure Tabbycat to use a different engine, set the DATABASES Django setting accordingly.
Short version
curl -sL https://deb.nodesource.com/setup_16.x | sudo -E bash -    # add Node.js source repository
sudo apt install python3.11 python3-distutils pipenv postgresql libpq-dev nodejs gcc g++ make
git clone https://github.com/TabbycatDebate/tabbycat.git
cd tabbycat
git checkout master
sudo -u postgres createuser myusername --createdb --pwprompt       # skip if not first time
sudo -u postgres createdb -O myusername mydatabasename             # -O designates the owner of the database
Then create settings/local.py as described below, then:
pipenv install --deploy
npm ci
pipenv shell
That should open your Pipenv shell, then inside it run:
cd tabbycat
dj migrate
npm run build
dj collectstatic
dj createsuperuser
dj runserver
1. Install dependencies
First, you need to install all of the software on which Tabbycat depends, if you don’t already have it installed.
Advanced users
These instructions are for Ubuntu, and are targeted at Ubuntu 18.04. If you have another distribution of Linux, we trust you’ll know how to navigate the package manager for your distribution to install the dependencies.
1(a). Python
Tabbycat uses Python 3.11. You probably already have Python 3, but you’ll also need the development package in order to install Psycopg2 later. You’ll also want Pipenv, if you don’t already have it. Install:
$ sudo apt install python3.11 python3-distutils pipenv
Check the version:
$ python3 --version
Python 3.11.10
Warning
Tabbycat does not support Python 2. You must use Python 3.11.
Advanced users
If you prefer to use pip to install Python packages, you can use pip install --user pipenv to install Pipenv, instead of apt.
1(b). PostgreSQL
PostgreSQL is a database management system.
Install PostgreSQL using the PostgreSQL installation instructions here.
Normally, installing the latest stable version should be best, but if you’re having issues, install the same version as the current default version on Heroku, as that will be what is currently most commonly used with Tabbycat. If you’re planning on pushing data between your local installation and a Heroku site, it’s best to match the Heroku’s current default version.
You’ll also need the libpq-dev package in order to install Psycopg2 later:
$ sudo apt install libpq-dev
1(c). Node.js/NPM
Node.js is a JavaScript runtime.
Tabbycat requires Node and its package manager to compile front-end dependencies. Install using:
$ sudo apt install curl
$ curl -sL https://deb.nodesource.com/setup_16.x | sudo -E bash -
$ sudo apt install -y nodejs
$ sudo ln -s /usr/bin/nodejs /usr/bin/node
1(d). Other development tools
Some of the Python packages require GCC, G++ and Make in order to install:
$ sudo apt install gcc g++ make
2. Get the source code
Choose either of the following two methods.
Method 1 (Git clone)
If you have Git, life will be easier if you clone our GitHub repository:
$ git clone https://github.com/TabbycatDebate/tabbycat.git
$ cd tabbycat
$ git checkout master
(You can find out if you have Git using git --version. If you don’t, you can install it using sudo apt install git.)
Note
The default branch is develop, so you need to explicitly change the branch to master, which is what the git checkout master line does.
Advanced users
You might like to fork the repository first, to give yourself a little more freedom to make code changes on the fly (and potentially contribute them to the project).
Method 2 (tarball)
If you don’t want to use Git, simply download and extract:
$ wget https://github.com/TabbycatDebate/tabbycat/archive/v2.11.0.tar.gz
$ tar xf v2.11.0.tar.gz
$ cd tabbycat-2.11.0
3. Set up a new database
Hint
You can skip step 1 if this is not your first installation. Every Tabbycat installation requires its own database, but they can use the same login role if you like.
Create a new user account with a password, replacing
myusernamewith whatever name you prefer. If you don’t know what username to pick, usetabbycat. Grant this user the ability to create databases, since this’ll make it easier to spin up new instances of Tabbycat in the future.
$ sudo -u postgres createuser myusername --createdb --pwpromptTip
If you’ll be running multiple instances of Tabbycat, developing, or diving into the database yourself, you might find it convenient to set up client authentication so that you don’t need to do all manual operations from
sudo -u postgres. See the PostgreSQL documentation on client authentication for more information. For example, you could add alocal all myusername md5line to the pg_hba.conf file, or you could define a mapping in pg_ident.conf and append themap=option to thelocal all all peerline in pg_hba.conf.
Create a new database, replacing
mydatabasenamewith whatever name you prefer, probably the name of the tournament you’re running, and replacemyusernamewith the username you used in the previous command:$ sudo -u postgres createdb -O myusername mydatabasename
4. Install Tabbycat
Almost there!
Navigate to your Tabbycat directory:
$ cd path/to/my/tabbycat/directory
Install the Python packages specified in the Pipfile using Pipenv (this also creates a virtual environment), and install the Node.js packages specified in package.json using npm:
$ pipenv install --deploy
$ npm ci
Navigate to the tabbycat/settings sub folder and copy local.example to local.py. Find this part in your new local.py, and fill in the blanks as indicated:
DATABASES = {
    'default': {
        'ENGINE'  : 'django.db.backends.postgresql',
        'NAME'    : '',  # put your PostgreSQL database's name in here
        'USER'    : '',  # put your PostgreSQL login role's user name in here
        'PASSWORD': '',  # put your PostgreSQL login role's password in here
        'HOST':     'localhost',
        'PORT':     '5432',
    }
}
Optionally, replace the value in this line in the same file with your own time zone, as defined in the IANA time zone database (e.g.,
Pacific/Auckland,America/Mexico_City,Asia/Kuala_Lumpur):TIME_ZONE = 'Australia/Melbourne'
Start a Pipenv shell:
$ pipenv shell
You’ll notice a prefix that looks like
(tabbycat-9BkbSRuB)(except the random characters for you will be different). That means you’re inside the Pipenv shell. Everything from this point onwards will be inside the Pipenv shell.
Navigate to the tabbycat sub-directory, initialize the database, compile the assets, and create a user account for yourself:
(tabbycat-9BkbSRuB) $ cd tabbycat
(tabbycat-9BkbSRuB) $ dj migrate
(tabbycat-9BkbSRuB) $ npm run build
(tabbycat-9BkbSRuB) $ dj collectstatic
(tabbycat-9BkbSRuB) $ dj createsuperuser
Start Tabbycat!
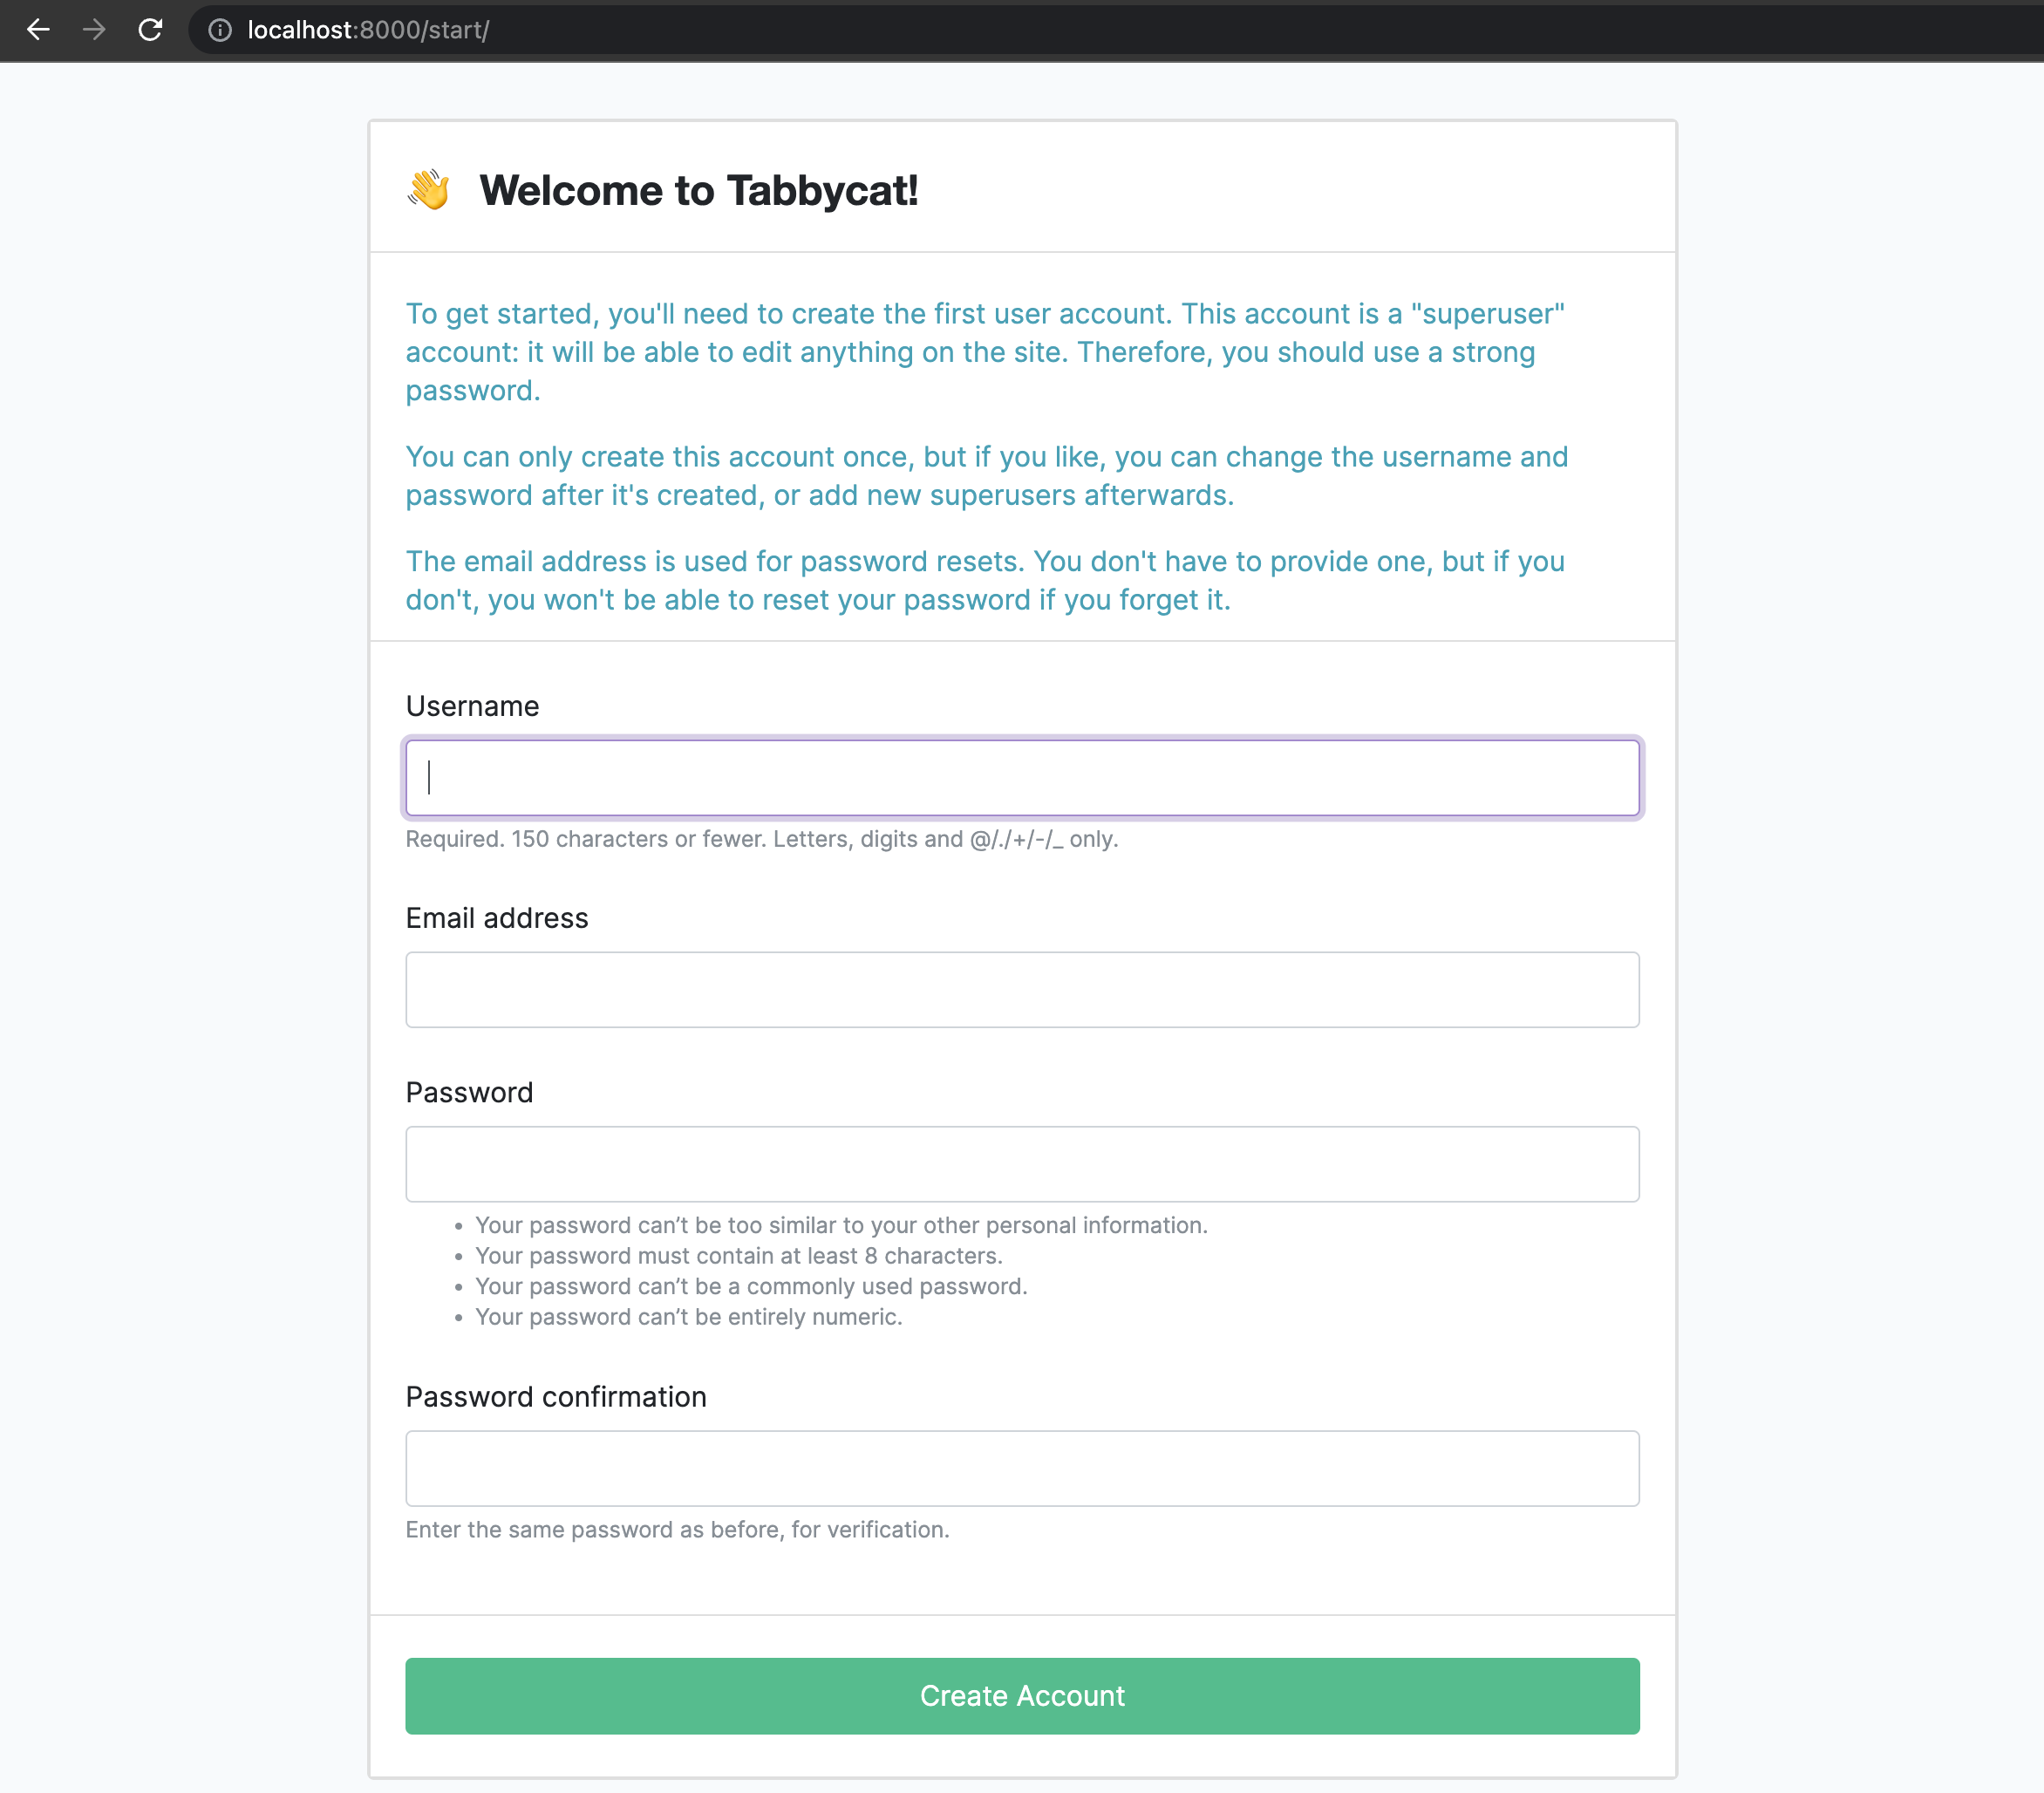
(tabbycat-9BkbSRuB) $ npm run serveLots of text will flow by—this command starts up all of the processes necessary to run Tabbycat. But the app will be at http://127.0.0.1:8000/ or http://localhost:8000/ (not at any of the other addresses that will show).
Open your browser and go to http://127.0.0.1:8000/ or http://localhost:8000/. It should look something like the screenshot below. If it does, great! You’ve successfully installed Tabbycat.
Naturally, your database is currently empty, so proceed to importing initial data.
5. Set up Webpush (Optional)
Webpush enables real-time push notifications to participants’ browsers, allowing them to receive updates about draws, motions, and other tournament information without needing to refresh the page.
Webpush requires VAPID (Voluntary Application Server Identification) keys for authentication. You’ll need to generate these keys and configure them in your settings, such as with the py_vapid Python package:
(tabbycat-9BkbSRuB) $ pip install py-vapid
Then generate the keys:
(tabbycat-9BkbSRuB) $ vapid --gen
(tabbycat-9BkbSRuB) $ vapid --applicationServerKey
This will create new files private_key.pem and public_key.pem in the current directory that you’ll need for the next step, as well as a applicationServerKey value.
You can set the VAPID keys by setting them as environment variables or by adding them to your settings/local.py file.
Option 1: Using environment variables
Before starting Tabbycat, export the following environment variables (replace the placeholder values with your actual keys, without the header or footer):
$ export WP_PRIVATE_KEY="<YOUR_PRIVATE_KEY>"
$ export WP_PUBLIC_KEY="<YOUR_PUBLIC_KEY>"
$ export WP_APPLICATION_SERVER_KEY="<YOUR_APPLICATION_SERVER_KEY>"
Option 2: Adding to local.py
Alternatively, add the following to your tabbycat/settings/local.py file:
PUSH_NOTIFICATIONS_SETTINGS = {
    "WP_PRIVATE_KEY": "<YOUR_PRIVATE_KEY>",
    "WP_PUBLIC_KEY": "<YOUR_PUBLIC_KEY>",
    "WP_CLAIMS": {
        "sub": "mailto:contact@tabbycat-debate.org"
    },
    "application_server_key": "<YOUR_APPLICATION_SERVER_KEY>"
}
Replace <YOUR_PRIVATE_KEY> and <YOUR_PUBLIC_KEY> with the keys you generated, and <YOUR_APPLICATION_SERVER_KEY> with the value you got from vapid --applicationServerKey.
Participants will now be able to subscribe to push notifications from their browsers when they visit your site.
Starting up an existing Tabbycat instance
To start your Tabbycat instance up again next time you use your computer:
$ cd path/to/my/tabbycat/directory
$ pipenv run npm run serve
Or you can start a pipenv shell, then run npm run serve from inside the Pipenv shell.